
Hi there! Hope you could follow along the last post. 😝 I know it took quite long before we could now get to the story hosting the first real service on my home server, but as I was writing those posts, I remembered just how much I did to get things up and running and I wanted to share those experiences as well, and now we ended up with two posts just introducing my network. I’m sorry… I guess. ¯\_(ツ)_/¯
Anyways!
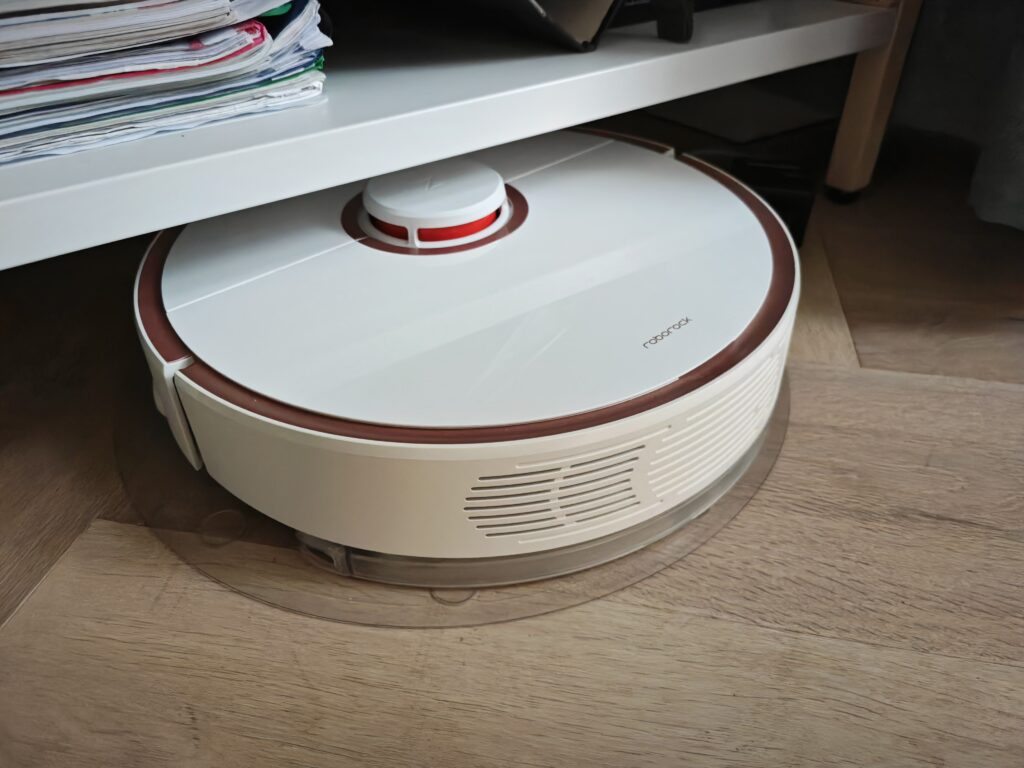
The first time I encountered smart home was when we bought a Roborock vacuum for the second previous apartment (the one before our previous apartment). I became pretty fascinated very soon, since being able to control stuff remotely even when you’re not home was just really, really cool. It even generated a map automatically using its… Li-DAR scanner? Not sure if it is one, please correct me. 😅 You can control it in the Mi Home app since it was a Mi ecosystem brand, and since we don’t use it anymore, it’s now a decoration collecting dust in my room.
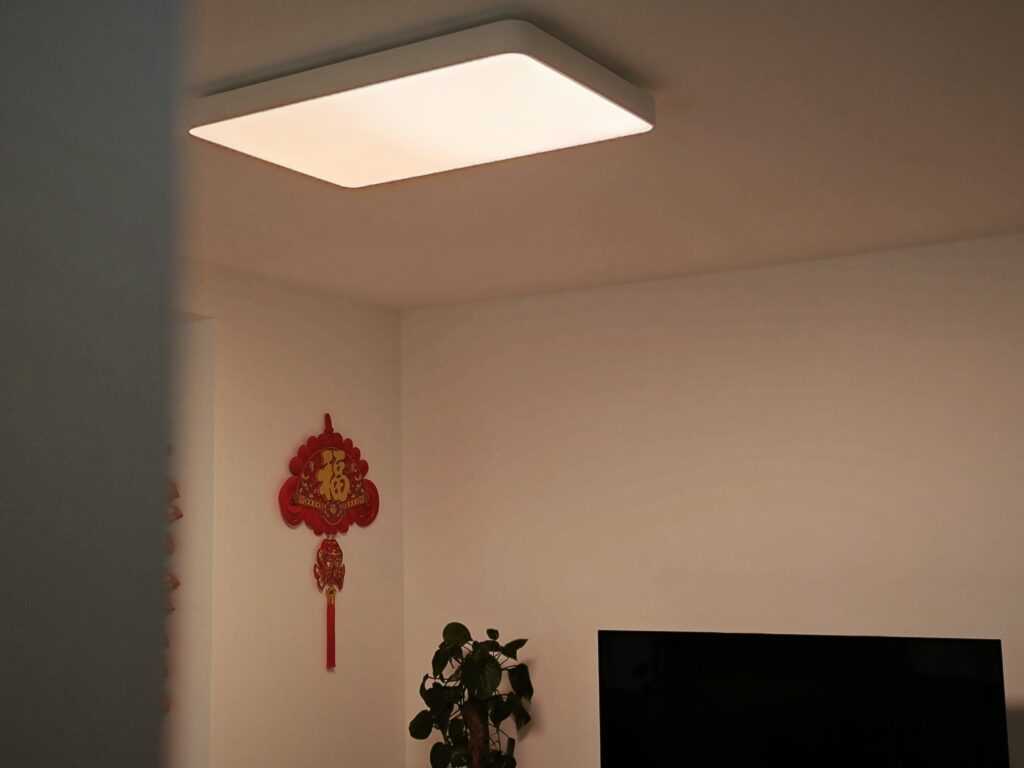
The next things we got for our previous apartment were some Yeelight lighting. They look simplistic and modern, could change their color temperature and brightness and worked in Mi Home as well. We actually took them with us in our current apartment, have a look! 😝

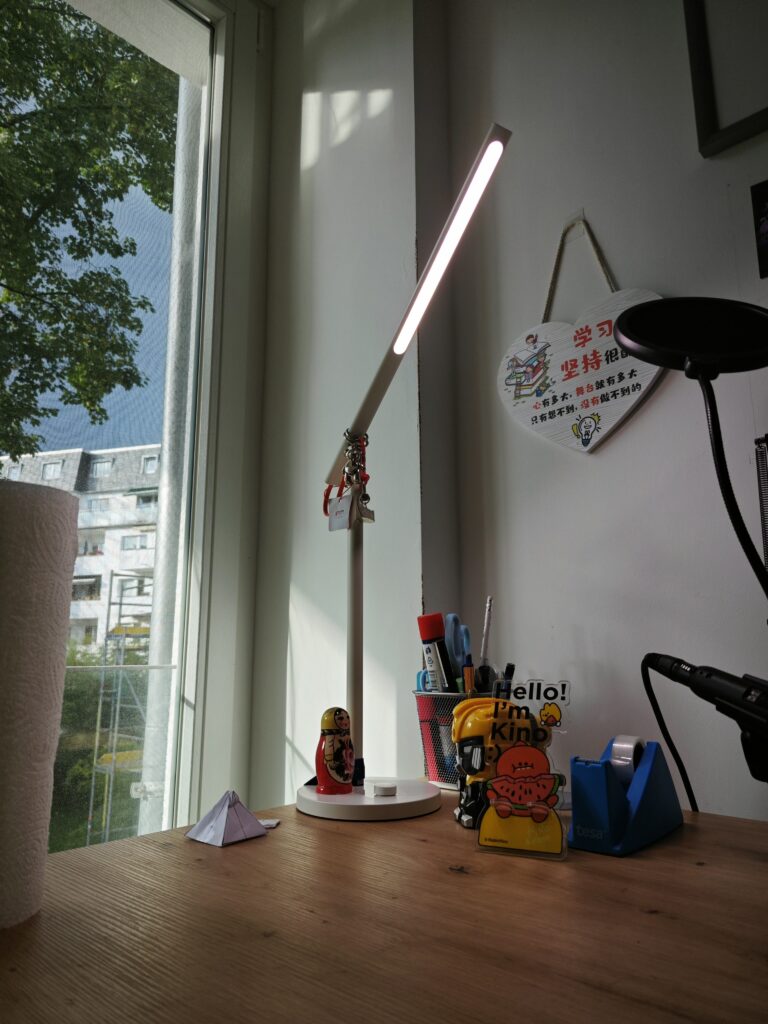
And a Mijia desk lamp:
And an RGB light bulb some years back from LEDVANCE. Yup, at this point, a lot of things are remotely controllable. Not everything is smart, and being able to control only the lights remotely raises the question whether it’s… well, worth it? Well, I don’t care! 😝 As long as it’s fun.
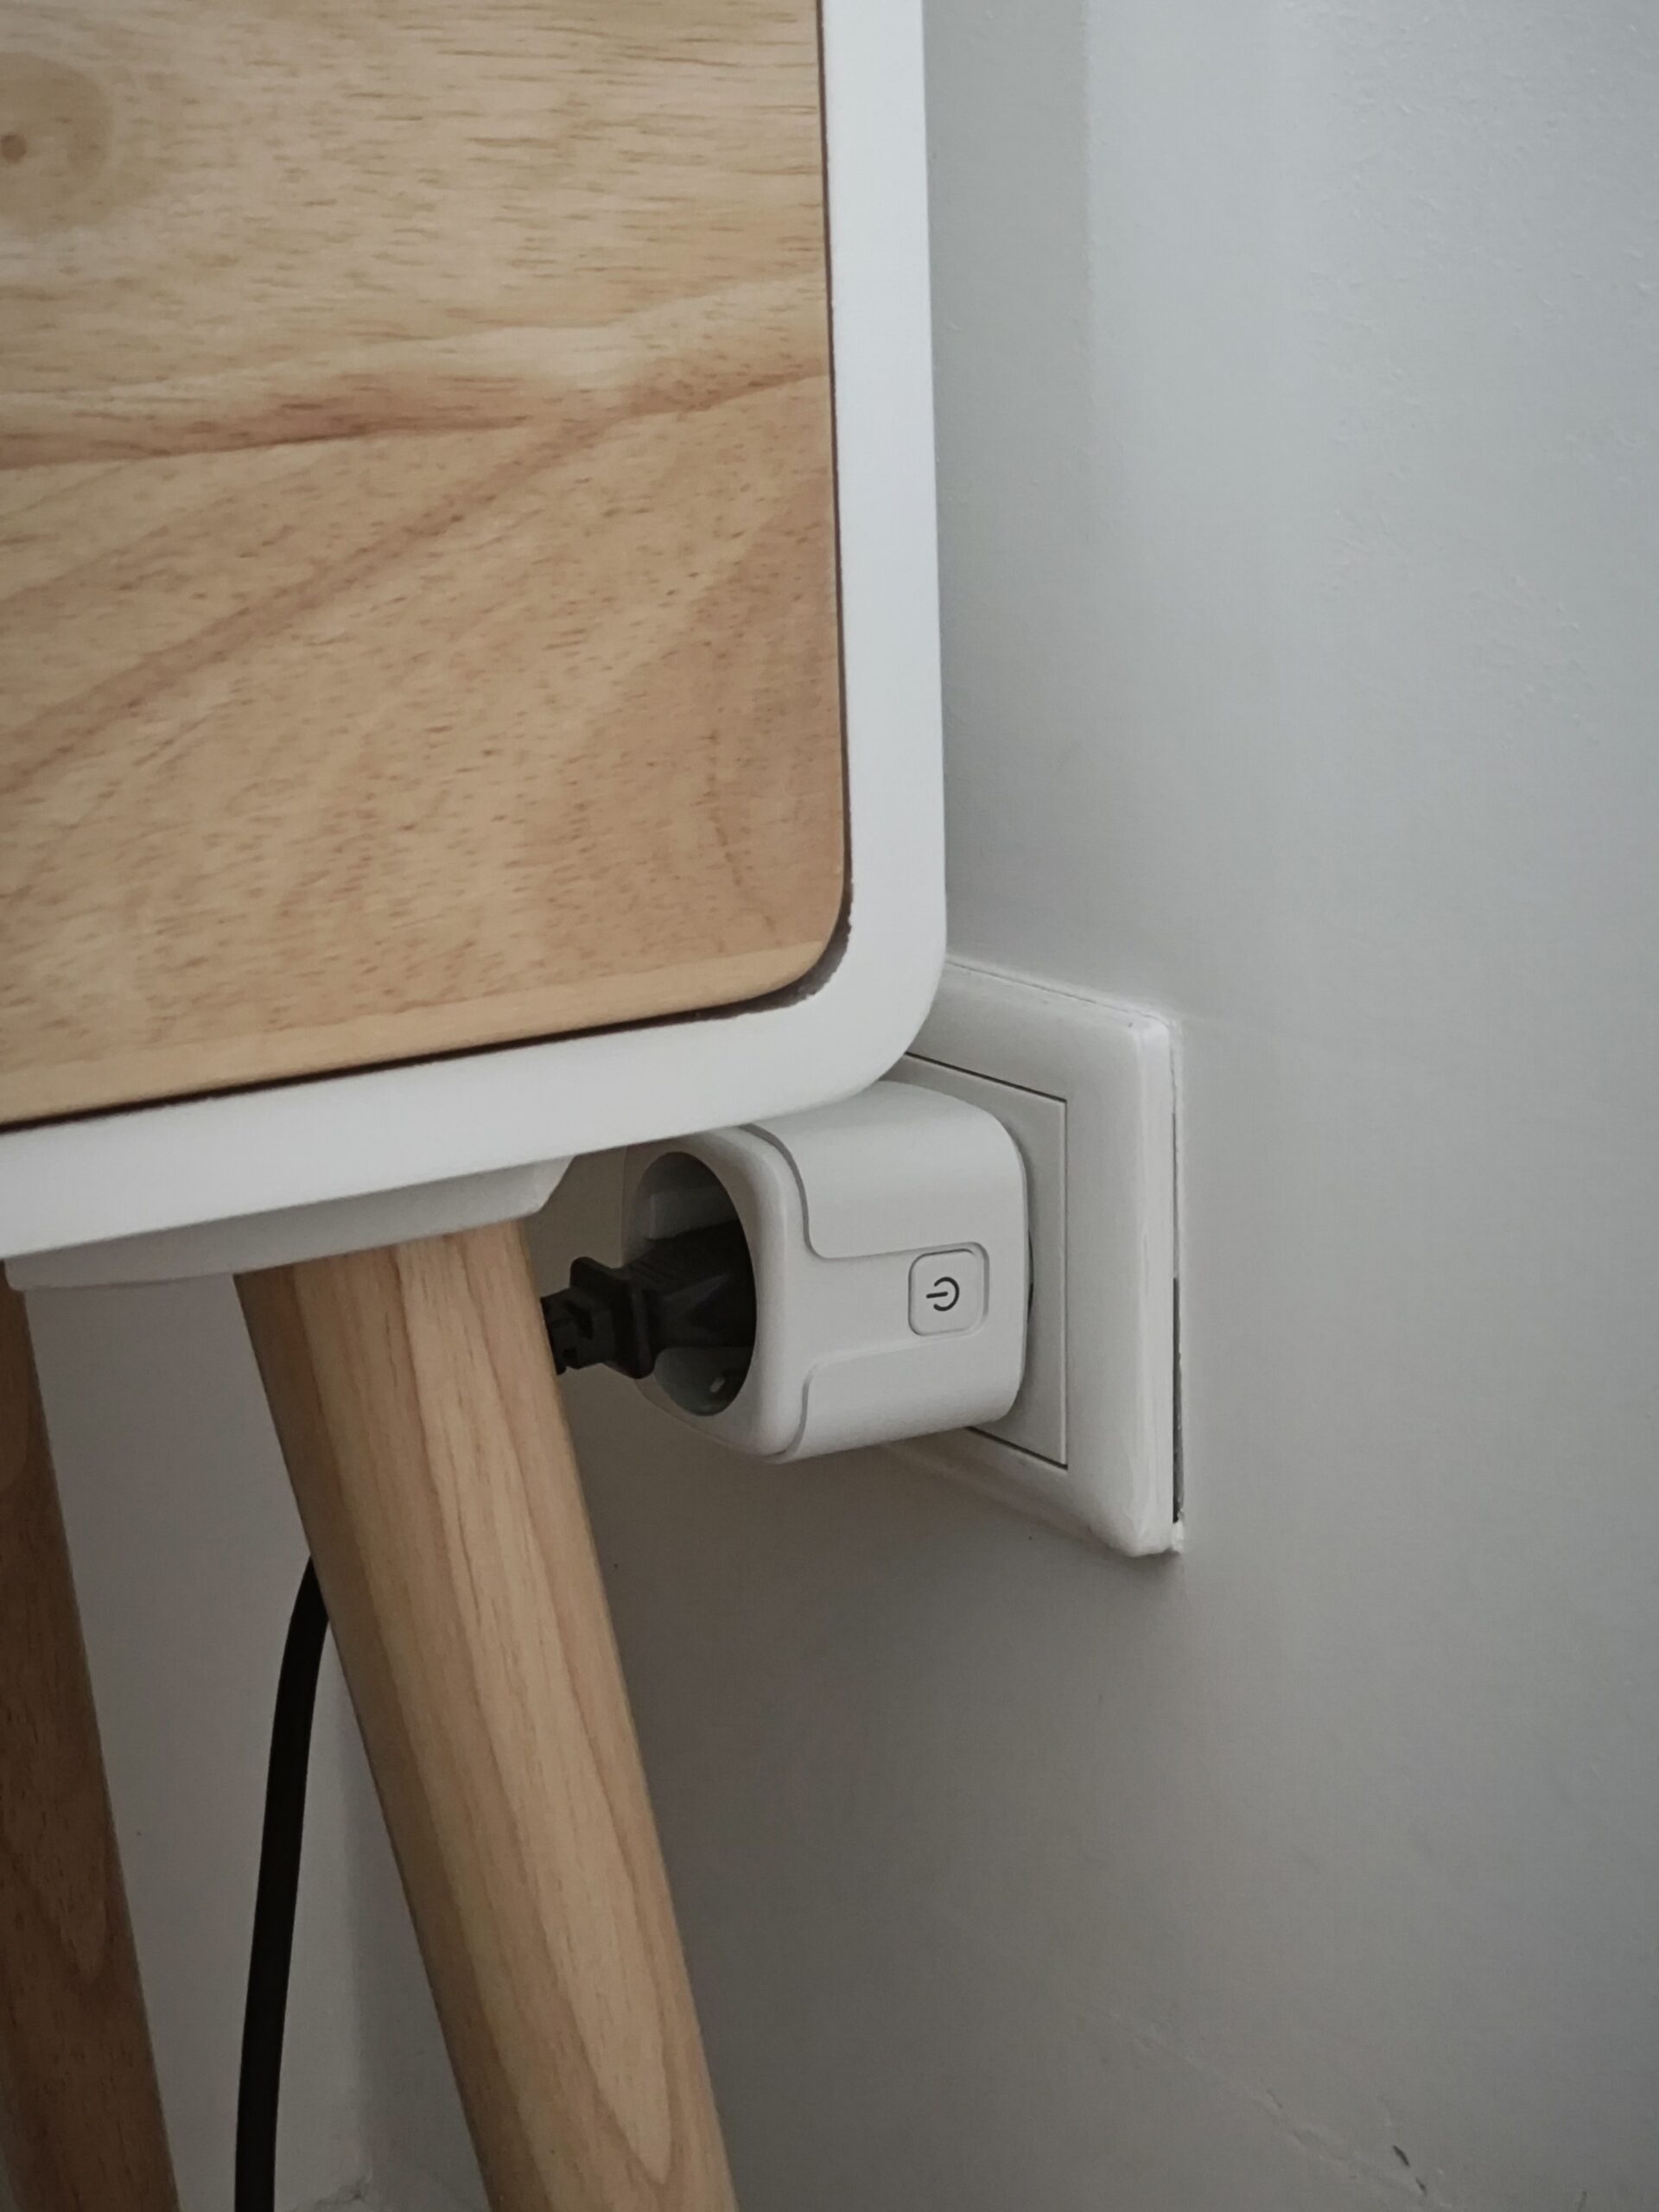
And when I suddenly had an urge to expand our smart home systems some time during September last year (2023), I bought some Mi Home BLE switches so we don’t have to toggle the mechanical switches for the smart lights anymore… The lights would go offline otherwise and that breaks the purpose of smart home in the first place. And if you asked me why I didn’t buy those switches earlier… ¯\_(ツ)_/¯
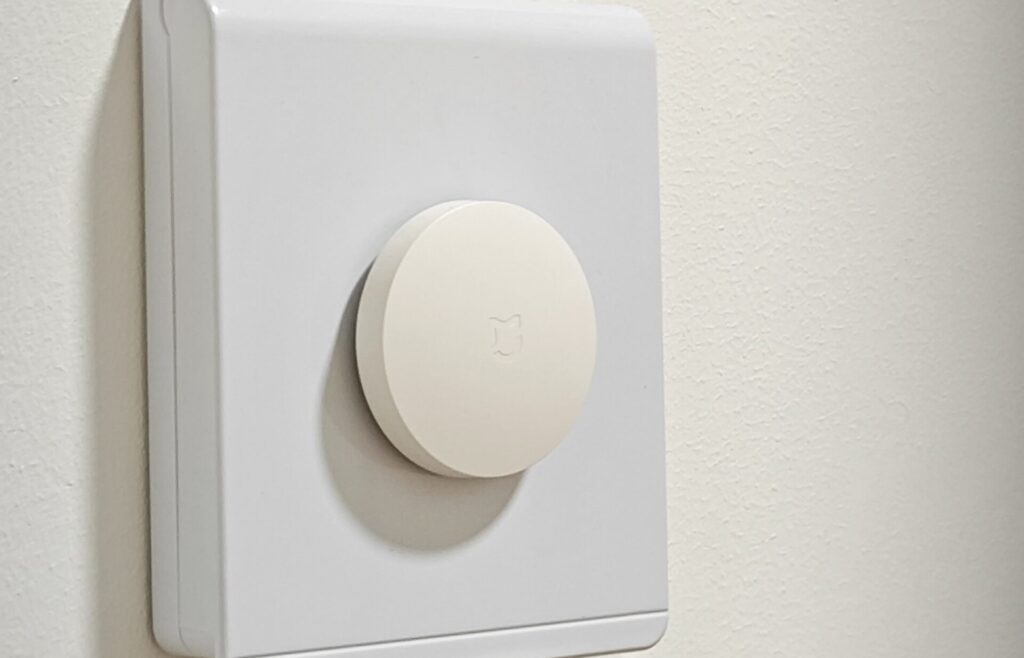
I didn’t buy a gateway since Mi Home said my round Yeelights could act as BLE gateways, and they also did. But there was a catch I didn’t think of:
I set up a bunch of automations in the Mi Home app for turning on lights whenever there is a switch press, but all my devices are paired in the China region Mi Home cloud since we purchased them in China and it wouldn’t work otherwise. And that meant all automations I set up will run there on the servers. But the speed was terrible, just like when using the Mi Home app for anything else. After one toggles a light for example in my Mi Home app, the action would actually only take place after two seconds if all goes well, and half a minute if the lights are having a bad day. 🙁 And the situation didn’t get any better with the BLE switches since the lights would only send the event to the servers but won’t process anything locally. I never guessed the cause of such issues before, since some Chinese services are dead slow outside of China… Maybe my use case is one of the edge cases the developers never thought of, just maybe. 🤔

Since I was still exploring solutions, I just left the setup as-is… It’s giving me the ISP router vibes from the previous posts: It sucks, it works, don’t touch it. 🤪
Things have taken a small change when we realized we need to take security a bit more seriously. We bought two Tapo C200 cameras and two sets of the AGSHome alarm system which includes a siren/gateway each and some door magnets. For the AGS system, I later learned that the branding is basically irrelevant to the underlying details since it’s a manufacturer that works with the Tuya protocols. More on that later, but our home is pretty secure now.
And there’s the problem that annoyed me ever since:
There’s an app for every single manufacturer! (falls over dramatically)
I’m kidding, but seriously, I actually needed to organize the smart home apps I have on my phone in a folder so my precious home screen real estate doesn’t get crammed up by apps doing essentially the same thing: Controlling smart home devices. I now have one for Xiaomi and Yeelight (Mi Home), one for LEDVANCE, one for TP-Link Tapo and one for AGSHome (Tuya Smart Home). Yeah. And forget about automating anything. There’s IFTTT, but that adds at least 10 dollars to your monthly bill if you want everything the platform has to offer.
Oh, actually forgot one app. Bose SoundTouch for the only SoundTouch speaker we have…
I have to put a stop to this nightmare. And thankfully, there was just one service to help me out of the darkness…
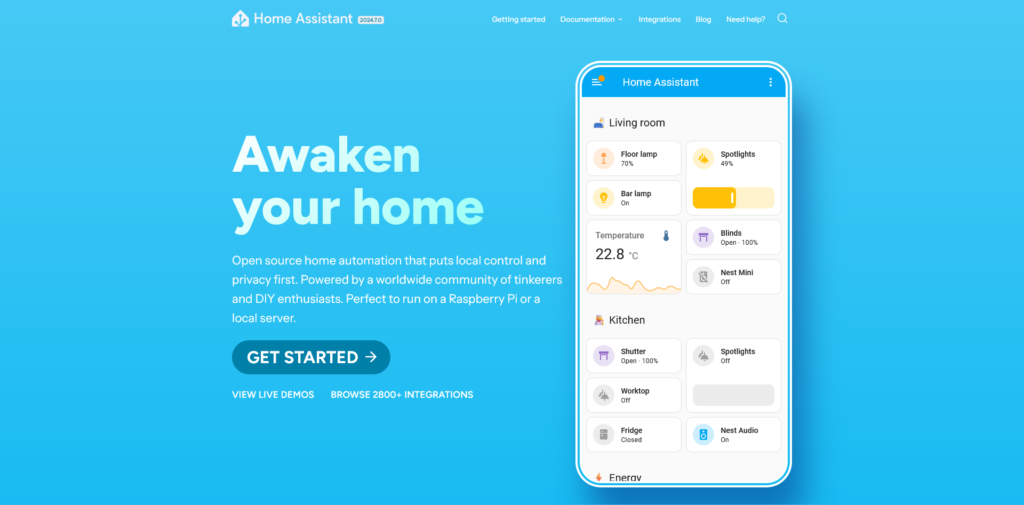
With Home Assistant, you can integrate all smart home platforms onto one unified service so you can control everything from one unified interface. Finally, peace of mind. 😎
“Well,” you might say, “I have Alexa/Google Home/Apple Home/… and it’s great.” And yup, these services serve a similar purpose, but they have a common problem – in fact, a few. They rely on what the manufacturers expose for them, which often means that the functionalities inside the respective apps are very, very limited, if not some devices are outright missing. While I had no problem pairing the round Yeelights with Google Home in the past, the rectangle one would just never show up no matter how I added my Mi account, probably related to region locking on the Mi Home side. And the only actions available for the Roborock vacuum were “clean”, “return to charging station” and “pause”…
If you ever wanted to have a full experience right in Google Home et cetera, the best option is to look for smart home devices that are certified with your platform of choice. Some devices only support one platform, some support two, and it’s hard to find devices that support all three. You won’t use all three platforms of course, but the compatibility issues means that you will either have to give up on automation and use the manufacturers’ apps, or you will have to dump your current devices into the garbage and buy new ones. 🫠
Home Assistant does this different!
There’s no such thing as a “works with Home Assistant” certification. Home Assistant works with many devices from popular smart home vendors with integrations – integrations are largely made by the communities and implement a set of interfaces tailored for devices of vendors. You probably think it’s nonsense what I just said, don’t worry, me neither, I was trying to sound cool. 😎
It basically means that the integrations will handle everything Home Assistant needs to talk to the devices – some integrations use official local control APIs for that (Yeelight exposes a local control interface), and others also use official APIs, although probably not intended by manufacturers… 😏 Some require manual setup, but most of the times, providing account details for the vendor platforms is all that’s needed, and all other connection info, tokens and all the crazy stuff are pulled from the manufacturer servers. Some devices that don’t require authentication are even added fully automatically.
Also, did I mention that Home Assistant is fully open-source and self-hosted? 😎 You’re in control! I put it into a Docker container (here are the official docs, I modified it to use Docker Compose) like all my other services, although Home Assistant is one special case. It needs to be addressable from outside, i.e. the LAN network where all the smart home stuff are connected. I went with a macvlan network for this on the Ubuntu Server install, but later moved to host mode networking to avoid complexity when I reinstalled the server with OpenWrt… That was a week ago, I will definitely write an article on that! OpenWrt is actually crazy.
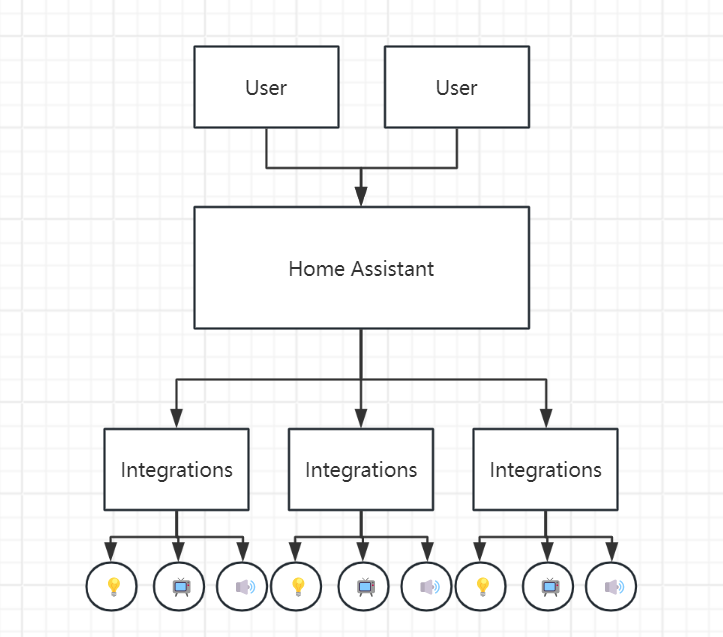
You might still wonder how these things are supposed to work together, but don’t worry – the two elementary Home Assistant concepts boil down to the following:
Devices: These are the logical units that correspond to the actual physical device. For example, a robot vacuum cleaner.
Entities: Then, a device can have multiple entities. Most devices don’t only have one input (sensor) or output (light, power sockets…), or they maybe even have combined capabilities of multiple device types! The robot vacuum cleaner could have a bunch of entities. There is probably a vacuum cleaner entity for basic control, and then maybe there is a selection entity for clean speed, displayed as a dropdown.
Though, there is no standard what an integration absolutely must implement, so the number of entities can vary by a lot.
Here’s an example of the Roborock. Here’s the vacuum cleaner entity:
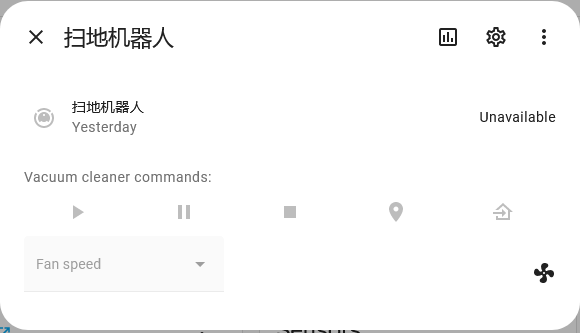
And here are everything else…
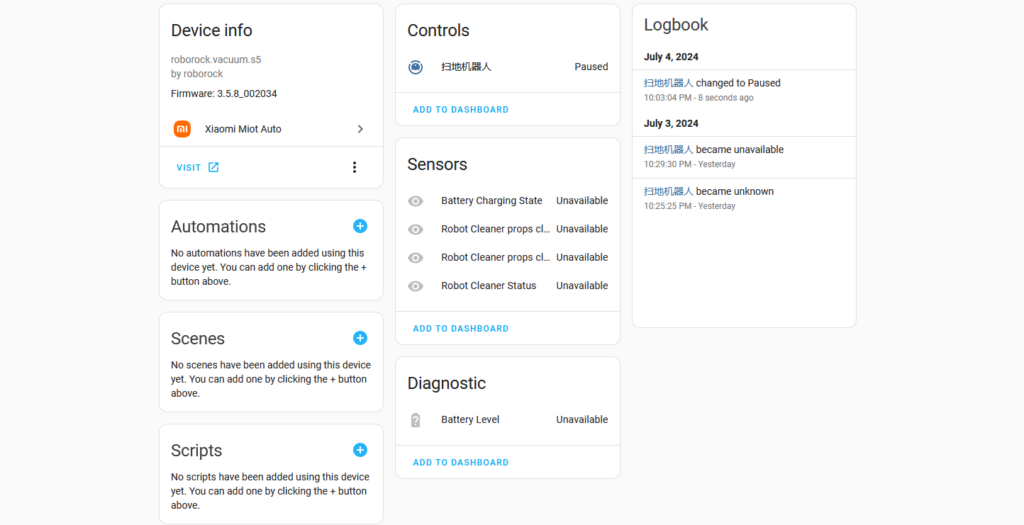
The status indicators are represented with sensors, and the battery level is shown among the diagnostic entities. I like this model a lot, or maybe I just love everything that is well standardized. 😜
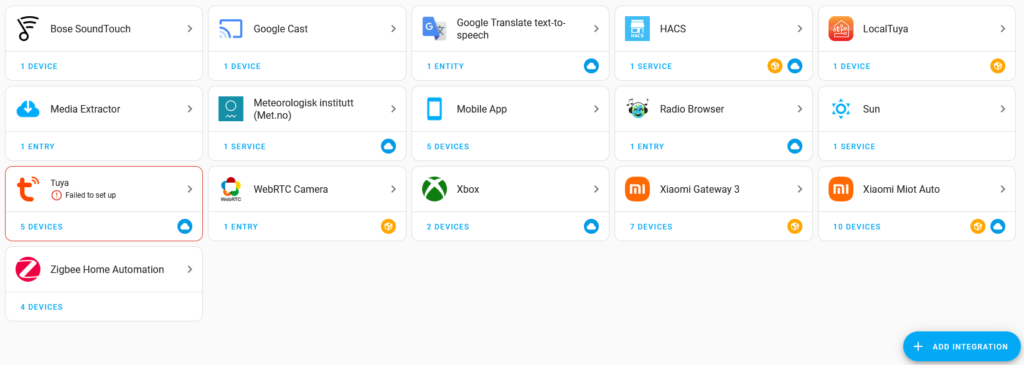
Here are the integrations I currently have added…
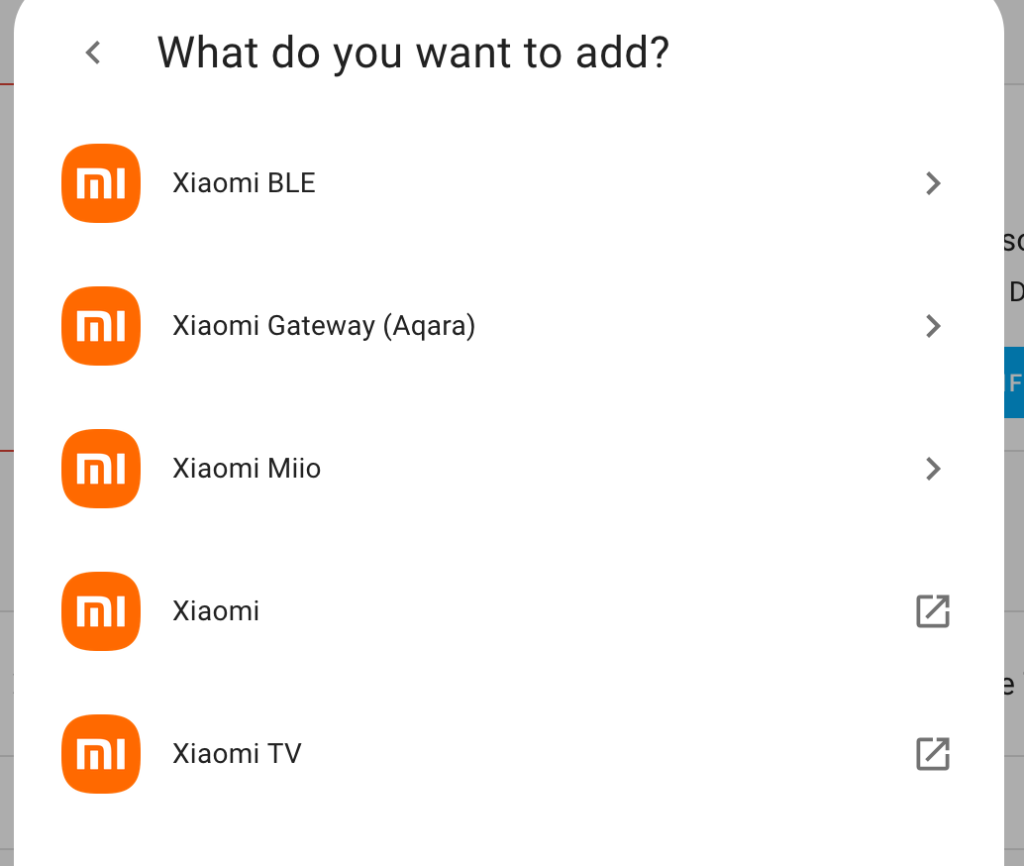
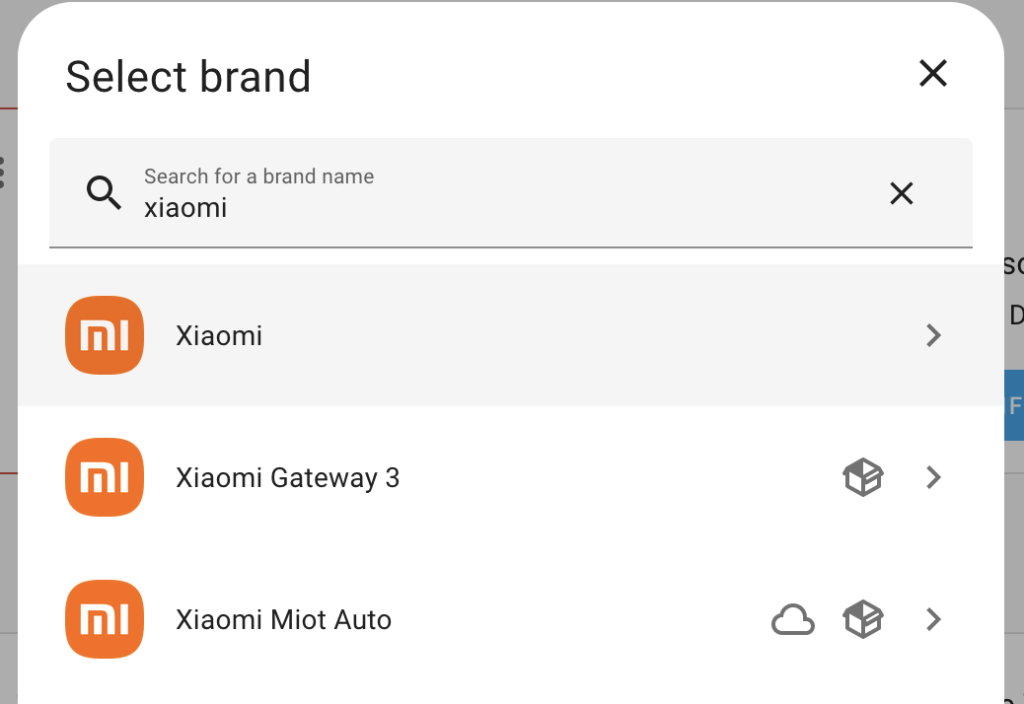
Xiaomi devices are actually kind of a special case. The built-in Xiaomi Miio integration should work fairly well for WiFi, but during my research before setting up Home Assistant, I found Xiaomi Miot Auto which is made for WiFi-based Xiaomi devices, handles different device types and authentication a bit more seemlessly and can be installed from HACS (Home Assistant Community Store). It’s a source for custom, community-built integrations that haven’t made their way into the official repositories for whatever reason. In fact, integrations and Home Assistant itself are built with Python, so expanding funtionalities and making integrations for unsupported devices should be fairly simple… (Never done this myself 🤪)
The LEDVANCE light bulb took me a while to figure out. Although it uses Tuya as well under the hood, the authentication system probably uses LEDVANCE endpoints so you can’t just add them with the regular Tuya integration. You needed to extract a token with a Python script, and with that you add the bulb to the LocalTuya integration. But after that, everything works well! 🙌
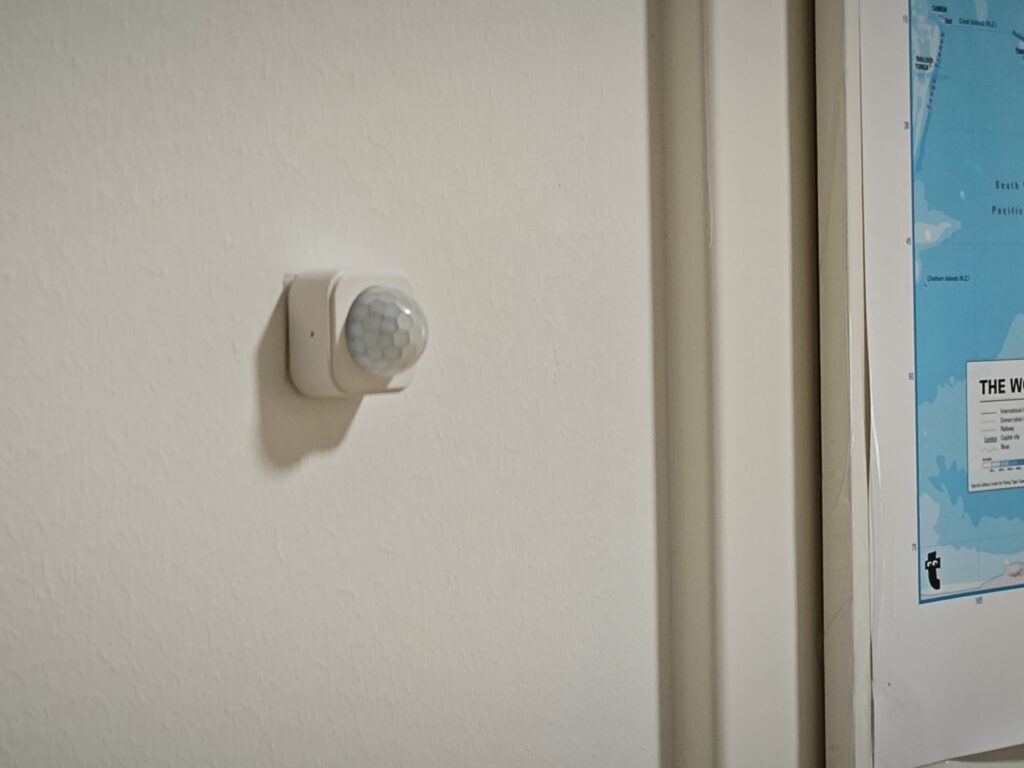
For Xiaomi BLE devices (the button switches and one door magnet I bought), the case is a bit different. There are a few ways to this: You can directly use the Xiaomi BLE integration which listens to event advertisements made by the Xiaomi BLE devices via Bluetooth. This is probably the most inexpensive solution, but my server doesn’t have Bluetooth and I found users reporting stability issues on different forums. Another way would be using either the built-in Xiaomi Gateway plugin or the HACS Xiaomi Gateway 3 integration depending on which gateway you have. I’m not sure how the built-in one works, but the Xiaomi Gateway 3 integration modifies the gateways to run a daemon on top of the original firmware, which forwards the caught events to Home Assistant.
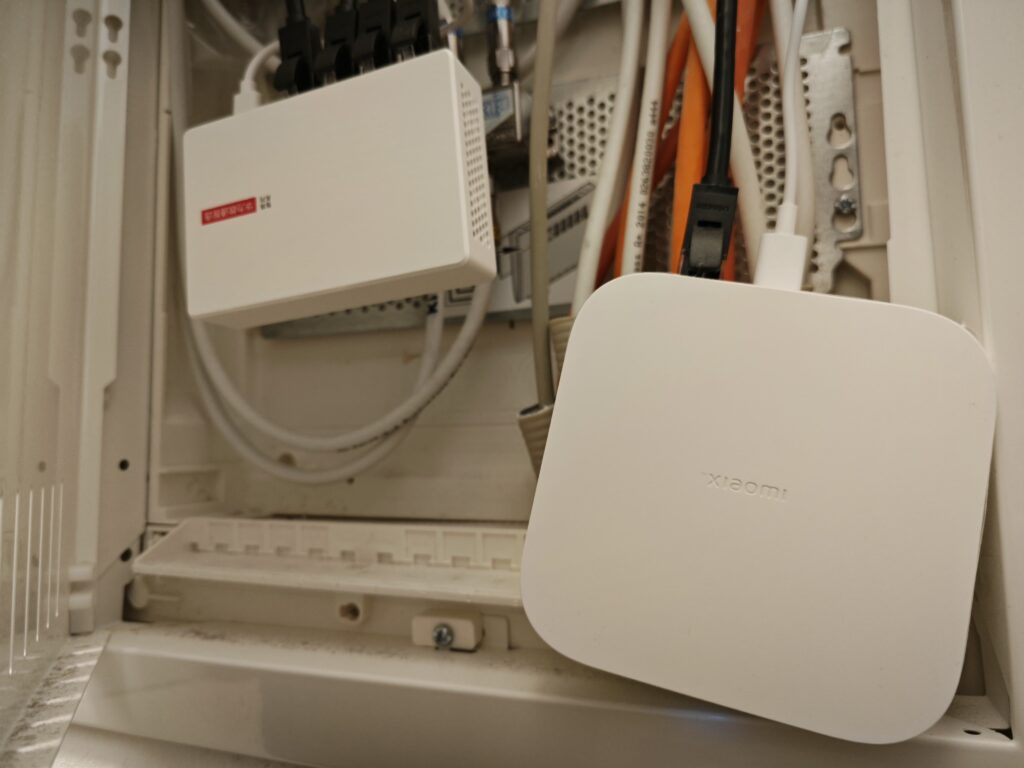
The only supported gateway that’s still being sold and works with my setup is the Xiaomi Multimode Gateway 2 (DMWG03LM), so I bought it when I returned to my hometown a few months ago. The Xiaomi store at a local mall had it and I think I got it for around 300 CNY (≈ 41.28 USD). It looks pretty cool, but the best place for it was the switchboard cabinet in the storage room where the network switch is attached as well – a place nobody will ever look except for me when something goes wrong…
The great thing is that the gateway has Zigbee, and combined with the Xiaomi Gateway 3 plugin, you can even use third-party Zigbee devices in Home Assistant. Pretty cool, huh? That’s also why I bought some off AliExpress two months ago.
Remember the Tapo cameras and the AGSHome alarm system we have? The first one was fairly simple to integrate. There was an integration on HACS which did just what it said: “Tapo: Camera Control“. It added a camera entity for video stream, some buttons for rotating the camera and dropdown selections for setting person detection and so on. It is a really cool integration, but the only problem was that the camera stream had a delay of almost half a minute. This is appearently due to Home Assistant using a weird protocol for video stream transfer, so AlexxIT (the same guy who made the Xiaomi Gateway 3 integration!) made another integration called WebRTC. It doesn’t allow adding new devices to Home Assistant like other integrations, but it can read the video stream from a camera entity or an URL, forward it to the Home Assistant clients via WebRTC and finally display it on a custom Lovelace (the name of Home Assistant’s WebUI) card with minimal latency.
The alarm system was a bit more tough to get working, and that brings perfectly to the problems I’m still fighting against with my current Home Assistant setup. The two AGSHome alarm systems use a set of the Tuya protocols, which allows manufacturers to build their smart home products upon an existing ecosystem – kind of like the Mi Home ecosystem, especially in China where products from other manufacturers are available that are integrated into Mi Home as well. Home Assistant also supports Tuya very well and every device type ever known should work well, but I crashed right into the needle in the haystack: Alarm systems are not supported. They will show up in Home Assistant for the sake of consistency, but they won’t expose any entities for controlling them. But since scenes set up in the Smart Home app (literally the name of Tuya’s smart home app) can be triggered from Home Assistant, I could work around the problem a bit by creating scenes that do nothing more but trigger a “disarm” or an “arm” action on the alarm systems. This way, I can control the alarm systems from Home Assistant now, but Home Assistant will never know what state the alarm systems are currently in. Works, but definitely sub-optimal.
The Tapo cameras have a somehow similar problem. I want that whenever a person is detected when I’m away and the alarms are armed, the siren on the alarm systems get automatically triggered. But there is a problem: Person detection events are processed by the Tapo cloud and are nowhere exposed via its ONVIF interface, which is part of what the Tapo Camera integration uses to provide the functionalities. That means that you can only enable and disable person detection from Home Assistant, but not automate anything with it. 😕 Person detection is available though as a trigger on IFTTT, so I’m currently using that to trigger sirens on the alarm systems. And when I’m home, I just disable person detection altogether so alarms aren’t triggered by accident. Since I have two cameras, I’m just reaching the limit of IFTTT’s free automations. Well, definitely not tightly integrated into Home Assistant, but works. ¯\_(ツ)_/¯
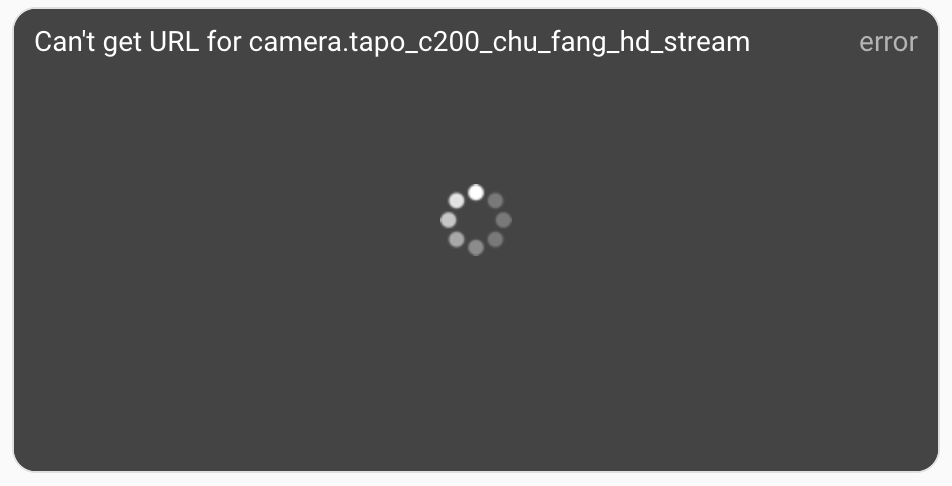
Speaking of Tapo, as of 5th of July, the Tapo Cameras Control integration is just outright broken if the cameras have a firmware version over v1.3.8. You’ve seen it in the picture somewhere above… 😛 The integration would prompt that the cloud account password is wrong even if it, well, isn’t… And that’s when I realized I forgot to disable automatic firmware updates on the cameras… Yikes. 😬 The good news however is that this is likely a response to a security issue the integration author has reported, and TP-Link has gotten in touch with the integration author to make sure the integration keeps working once everything is fixed and stabilized. Here’s the GitHub issue to read more about it, but for us users now, this probably means waiting a few more months until the integration works again…
Anyways, Home Assistant is really, really fun to dive into! Everything’s localized, everything’s secure, and everything runs with basically zero latency… But you’ve seen the problems – some functionality crucial to automating stuff across devices are just not available to Home Assistant, and everything else is just time-consuming in general. Actually, a point I haven’t mentioned yet is that all my services are proxied behind nginx. It definitely adds some complexity, but now I can access everything via the standard HTTP and HTTPS ports under different virtual hosts. I will be writing about my nginx setup some time. To be honest, it’s a mess with copy-pasted configuration snippets from everywhere… 😛
Back to the topic. Before we end this post, here’s a sum-up of my setup. Now that I look at it – it’s quite a mess… 😝
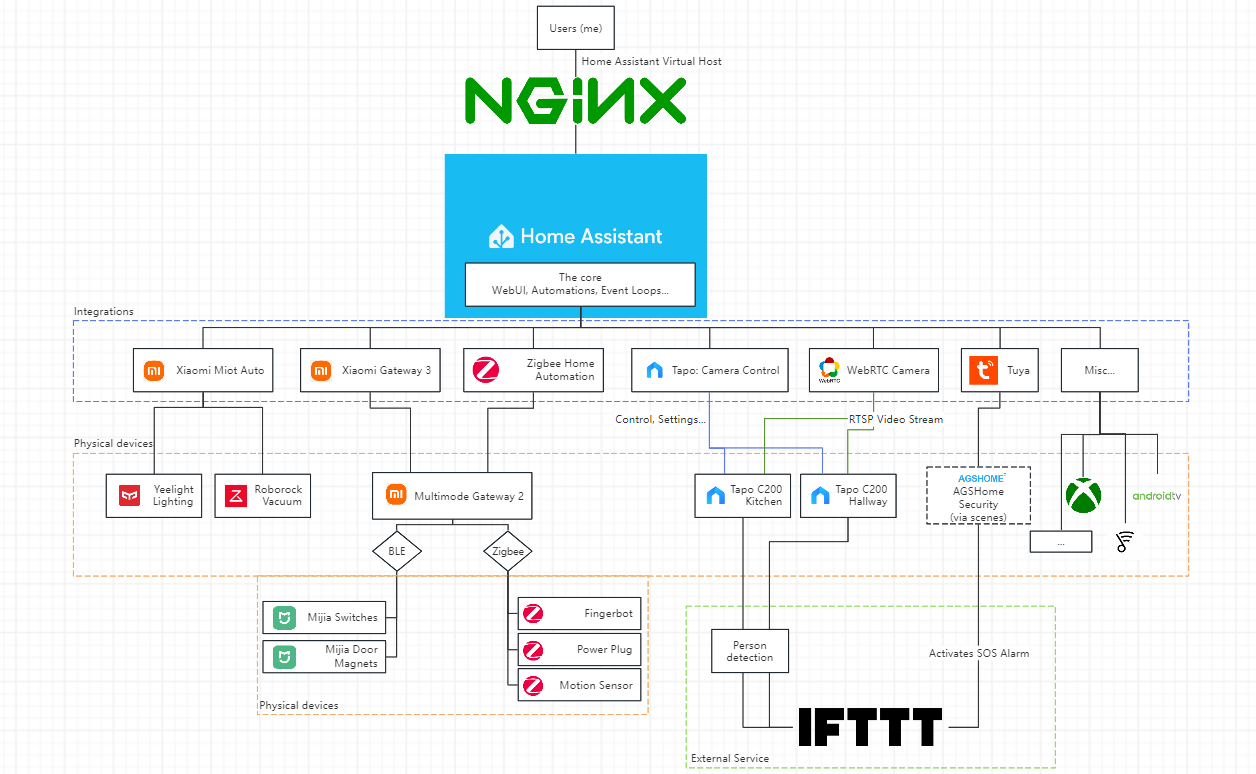
Alright, that was my Home Assistant setup. Quite a lot of things could be done better, but maybe you can take some ideas from my setup for your own! It’s quite amazing to have all smart home stuff in one place – trust me. 😍 Anyways, I’ll catch you in the next post. Until then, have fun exploring!
Leave a Reply
You must be logged in to post a comment.